How to Convert an Image to a Tattoo Stencil (Photo, Sketch or Tattoo)
Turn any photo, sketch, flash sheet or photo of an existing tattoo into a clean, print-ready tattoo stencil in under a minute, and pick the right method for each kind of image.
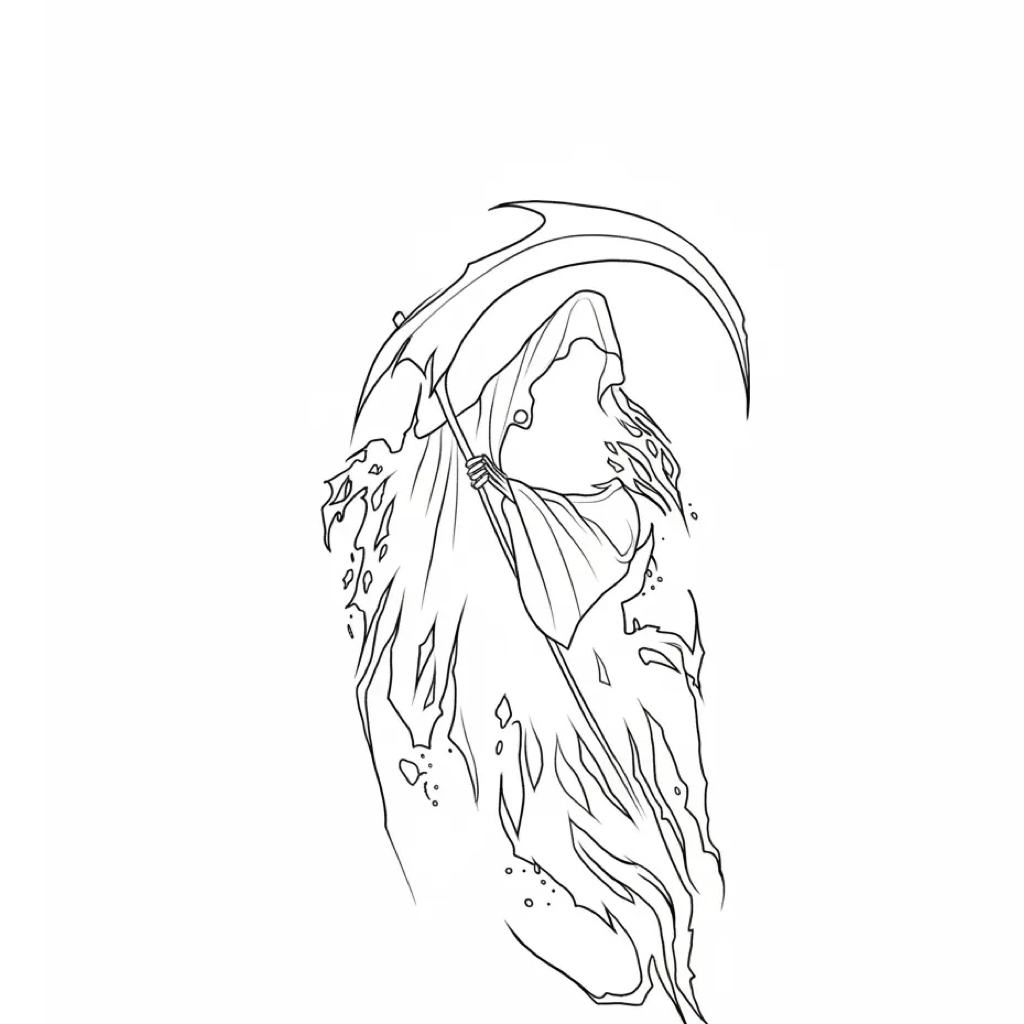
Quick answer
A good tattoo stencil is not just a black-and-white version of a picture. It needs continuous lines, no grey areas, no shading blobs that turn into a purple smudge on skin, and a size that matches the placement. This guide covers how to get there from the four kinds of image artists usually start with.
In this guide
Which method fits your image
Different source images need different treatment. Here is what we recommend for each:
| Your image | Best tool | Why |
|---|---|---|
| Clean sketch or line art on white paper | Lite (free) | The lines already exist, so tracing them is enough. Adjust darkness, detail and line weight live. |
| Finished digital art or flash | Original, Standard | Rebuilds every line cleanly on white, without shading noise. |
| Photo of an existing tattoo on skin | Original Detailed, or Extra | AI ignores skin texture and curvature and redraws straight, continuous lines. |
| Realism, portrait or busy reference photo | Extra, or Original Detailed | Keeps more detail and marks shading with dotted or broken lines. |
| Armband or band design | Armband tool (free) | Bends the band so it wraps the arm evenly instead of tilting. |
| Flash you want to make your own | Uniquify | Creates a fresh variation at a uniqueness level from 1 to 10. |
Step by step: convert an image with StencilPro
- 1
Open StencilPro
Use the web app on any computer or the iPhone, iPad and Android app. New accounts get 2 free AI stencils, no card needed. - 2
Upload and crop
Upload a photo, scan or screenshot, or take a photo in the app. Crop tightly to the design so the AI isn't distracted by the background, your hand or the table. - 3
Choose the tool and detail level
Pick Original (1 credit) or Extra (2 credits) for AI, or Lite for free tracing of clean sketches. For AI, set the detail to Simple, Standard or Detailed. - 4
Generate
Original usually finishes in seconds. At busy times it can take longer; the app sends a notification when your stencil is ready, so you can keep working. - 5
Check it against the original
Look for missing elements, merged lines and anything you want simplified. If it's off, try another detail level. If a generation fails or is blocked by the content filter, the credit is refunded. - 6
Size it and print
Download the PNG, or open it in Canvas to set the exact size, add size copies and print the sheet straight to your printer.
How to prepare the image
The quality of the stencil depends mostly on the quality of the input. Before uploading:
- Shoot straight on. An angled photo makes circles into ovals; StencilPro straightens some rotation and perspective, but a flat shot is always better.
- Use even light with no glare. Shadows across a sketchbook page become lines in the stencil.
- Crop to the design. Leave a small margin, but remove hands, tables and other artwork.
- Use the sharpest version you have. A screenshot of a tiny thumbnail can't produce crisp lines.
- For tattoos on skin, fill the frame and avoid shiny, freshly healed or wrapped skin.
- For Lite, use clean line art on white paper. Avoid shaded artwork and photos of skin, which Lite isn't designed for.
Choosing a detail level
| Level | What you get | Use it for |
|---|---|---|
| Simple | Bold outer outlines, minimal interior lines, large open shapes | Traditional, small pieces, fine-line work where you freehand details |
| Standard | All interior linework and fine details, no shading marks | Most designs: neo-traditional, illustrative, lettering, flash |
| Detailed | Maximum linework plus shading marked with dotted or broken lines | Realism, portraits, black and grey where you need shading guides |
If you're unsure, start with Standard. Many artists prefer fewer lines on the stencil and freehand the rest, because every extra line is one more thing that can smudge during a long session.
Sizing and printing
Measure the placement on the client, then size the stencil before printing. In StencilPro's Canvas you can place designs on an A4 sheet with a centimetre or inch ruler, resize them, and use size copies to print the same design at three or four sizes on one sheet. Hold them up to the placement and pick the one that fits.
Print onto thermal stencil paper with a thermal printer or thermal copier. If you're hand-transferring, print on plain paper and trace it onto freehand transfer paper. Our stencil paper guide covers which paper works with which printer.
Wrap-around pieces
A straight band printed flat will tilt when it wraps a tapered arm. Run armband designs through StencilPro's free Armband tool, which bends the band so it sits level all the way around.
Common problems and fixes
| Problem | Fix |
|---|---|
| Too many lines, looks busy | Drop to Simple, or crop out background elements. |
| Missing fine details | Go up to Detailed, or try Extra for more accuracy. |
| Broken or sketchy lines from a pencil drawing | Use Original instead of Lite; the AI completes and straightens lines. |
| Lite stencil too faint or too heavy | Adjust the Darkness and Line weight sliders; hold the preview to compare with the original. |
| Stencil prints too light | Check the paper is loaded the right way up and that the printer's darkness setting is high enough. |
| Generation blocked | The content filter reacted to something in the image. Crop out sensitive parts and try again; the credit is refunded. |
Other ways to convert an image
Procreate or Photoshop. Lower the opacity of the reference, trace it on a new layer with a hard brush, then hide the reference and export. You get full control, but expect 15 to 45 minutes per design.
Threshold or edge-detection filters. Free online converters and photo-editor filters turn an image into black and white quickly, but they keep noise and shading as blobs and break lines where contrast is low. They are fine for clean line art and poor for photos.
Hand tracing. Tracing paper and a lightbox still work and teach you the design. See stencil maker vs manual tracing for when each makes sense.
Frequently Asked Questions
How do I turn a picture into a tattoo stencil?
Crop the picture to just the design, upload it to a stencil maker such as StencilPro, choose a detail level, and download the black-on-white line art. Print it on thermal stencil paper with a thermal printer or copier, or trace it by hand onto freehand transfer paper.
Can I convert a photo of an existing tattoo into a stencil?
Yes. An AI stencil maker can rebuild clean lines from a photo of a tattoo on skin. Shoot it straight on, in even light, with the tattoo filling the frame. StencilPro's Original model at Standard or Detailed works well, and Extra gives more accuracy on complex pieces. Non-AI tracers struggle with skin texture and curvature.
Is there a free way to convert an image to a stencil?
StencilPro's Lite tracer in the iPhone, iPad and Android app is free and needs no credits; it works best on clean sketches or line art on white paper. New accounts also get 2 free AI stencils for photos and complex artwork.
What image quality do I need?
A sharp, evenly lit image where the design fills most of the frame. Around 1000 pixels on the short side is plenty; a blurry or tiny image can't produce crisp lines no matter which tool you use.
Do I need to mirror the stencil before printing?
It depends on your printer. Thermal copiers using carbon stencil paper produce a reversed image on the stencil sheet that reads correctly once applied to skin, so you print the design as is. Some portable printer apps expect a mirrored image. Do one test print on spare paper and check before a session.
Try StencilPro free
Upload a photo, sketch or flash and get a print-ready stencil in seconds. New accounts get 2 free AI stencils, and the Lite tracer and Armband tool in the app are free to use.