
How to Use a Stencil Maker for Tattoos: Step-by-Step Tutorial
A complete walkthrough of using a tattoo stencil maker, from uploading your design to printing and applying the stencil, including variations, armbands and print sheets.
In short
This tutorial uses StencilPro, but the workflow is the same with most stencil makers. Each step includes the things that tend to go wrong and how to avoid them.
In this guide
Before you start
- A StencilPro account. Sign up on the web or in the iPhone and iPad app; you get 2 free AI stencils.
- Your design: a photo, scan, screenshot or digital file. Sharp and evenly lit is what matters.
- A rough size for the placement. Measure the client before you print, not after.
- Thermal stencil paper and a thermal printer or copier, or plain paper and freehand transfer paper if you trace by hand.
Pick the right tool
| Tool | Cost | Best for |
|---|---|---|
| Lite | Free | Clean sketches and line art on white paper. Instant, with live darkness, detail and line-weight sliders. |
| Original | 1 credit | Most designs and photos. AI completes and straightens lines on a white background. |
| Extra | 2 credits | Complex or detailed work where you want extra accuracy from the newer AI model. |
| Uniquify | 2 credits | Making a fresh variation of a design or flash. |
| Armband | Free | Bending band designs to wrap around an arm or leg. |
| Canvas | Subscribers | Laying out, resizing and printing several designs on one A4 sheet. |
Lite, Extra, Armband and Canvas are in the iPhone and iPad app. The web app has Original-style AI stencils with a complexity slider, plus Uniquify.
Make the stencil
- 1
Upload your design
In the app, open Create and choose a photo or take one. On the web, open your dashboard and choose Create a Stencil from Image. Crop to the design. - 2
Set the detail level
Simple gives bold outlines with few interior lines. Standard keeps all linework without shading marks. Detailed adds shading guides as dotted or broken lines. Start with Standard if unsure. - 3
Generate
Tap Generate. Results usually arrive in seconds; at busy times the app notifies you when the stencil is ready. Lite updates live as you move the sliders. - 4
Review
Compare the stencil with the original. Check that nothing important is missing and that lines aren't merging in tight areas. Regenerate at a different level if needed; failed or blocked generations refund the credit. - 5
Save or download
Stencils are saved to your creations in the cloud. Download the PNG, save it to your photos, or send it to Canvas or Uniquify.
Variations, armbands and print sheets
Uniquify: make a design your own
Clients often bring a picture of someone else's tattoo. Uniquify keeps the theme and level of detail but replaces elements, so the result is a new design. Set the uniqueness from 1 (subtle changes) to 10 (substantial changes). It works on any stencil in your creations or a new upload.
Armband: bend bands to fit
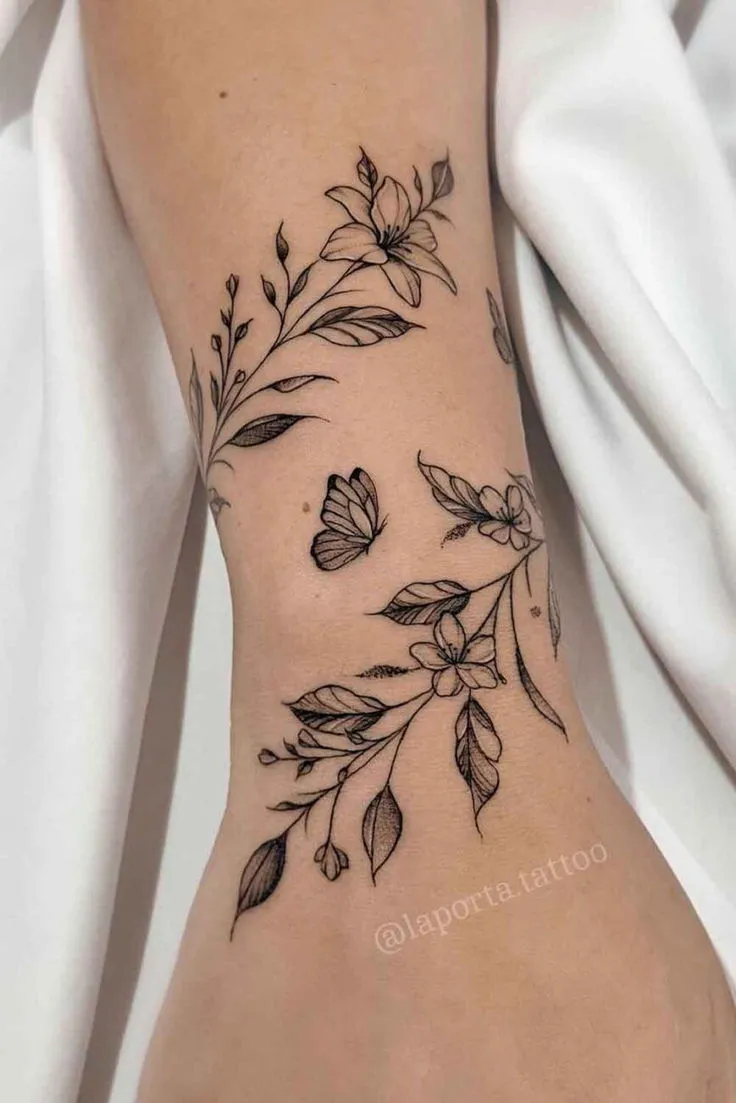
Arms and legs are tapered, so a straight band tilts when it wraps around. Upload an armband stencil to the Armband tool and it returns a bent version that sits level all the way around. It's free, and the saved result is full quality even if the preview looks soft.
Canvas: lay out and print
Canvas is an A4 workspace. Add up to 15 designs from your creations or gallery, then move, resize, stretch, crop, rotate, flip and duplicate them. Long-press duplicate for size copies to test several print sizes on one page. You can also add text in any font on your phone or your own .ttf or .otf file, adjust layers, opacity and blend mode, and print or save the sheet.
Print the stencil
- 1
Load the paper correctly
Thermal stencil paper only takes the image on one side. Check your printer's instructions, and do a test print on a spare sheet the first time. - 2
Check mirroring
Thermal copiers with carbon stencil paper produce a reversed image that reads correctly on skin, so print the design as is. Some portable printer apps expect you to mirror it. Test once and note what your printer needs. - 3
Print at 100%
Turn off any fit-to-page scaling so the size you set in Canvas is the size you get. - 4
Trim
Cut around the design, leaving a small margin, and remove the backing sheets.
Apply it to the skin
- Shave and clean the area, then let it dry.
- Apply a thin, even layer of stencil transfer solution. Too much makes the lines bleed.
- Place the stencil ink side down, press evenly for a few seconds, and peel it off in one motion.
- Let the stencil dry for several minutes before you start, so it survives wiping.
- Check placement with the client in a mirror; if it's off, remove it and reapply rather than adjusting while tattooing.
Frequently Asked Questions
How long does a stencil maker take?
With StencilPro, an AI stencil usually takes seconds, and Lite tracing is instant. Add a minute or two for cropping, sizing and printing.
Do I need a thermal printer to use a stencil maker?
No, but it's the fastest route. Without one, print the stencil on ordinary paper and trace it onto freehand (hectograph) transfer paper, or take the printout to a thermal copier.
Can I use a stencil maker on my phone?
Yes. StencilPro has an iPhone and iPad app with the full toolset (Lite, Original, Extra, Uniquify, Armband and Canvas), and the web app works in any phone or computer browser.
How do I make a stencil bigger or smaller?
Resize it before printing. In StencilPro's Canvas, drag the corner handle with the ruler set to centimetres or inches, or use size copies to print several sizes on one sheet and choose the best fit on the client.
Can I use StencilPro from ChatGPT or Claude?
Yes. Add https://stencilpro.app/mcp as a connector, sign in, and ask the assistant to turn an image into a stencil. It uses the same credits as your account.
Try StencilPro free
Upload a photo, sketch or flash and get a print-ready stencil in seconds. New accounts get 2 free AI stencils, and the Lite tracer and Armband tool in the app are free to use.